
When FreePBX IVR calls not working becomes a business problem, the fastest path is usually a call-flow trace. Do not begin by changing every IVR setting. First identify where the call stops: the provider trunk, inbound route, IVR prompt, caller input, destination, permission check, or dialplan execution.
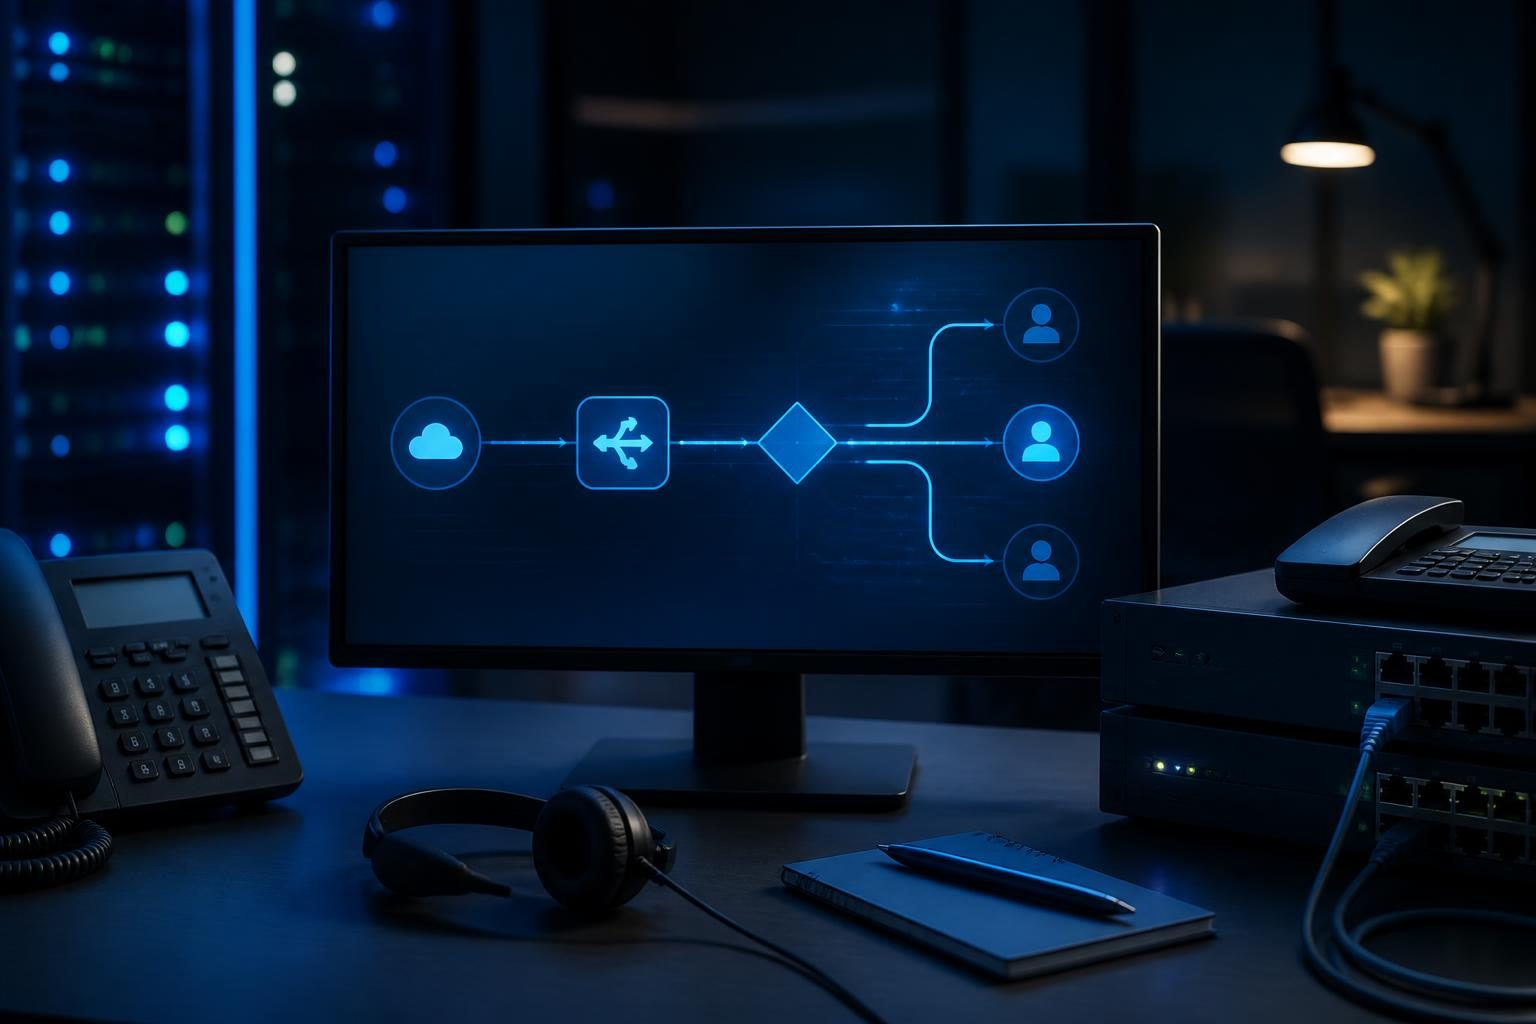
An interactive voice response system, or IVR, answers a call and lets the caller choose an option. FreePBX turns those choices into an Asterisk dialplan, which is the set of instructions that controls call handling. A structured trace preserves evidence and reduces the risk of breaking working routes.
Start with one failed call and a clear symptom
Choose a recent failed call rather than testing randomly. Record the date, time, caller number, number dialed, expected option, actual result, and whether the caller heard ringing, silence, a busy signal, or an error message.
Use the same test number and menu selection during troubleshooting. A repeatable test makes each configuration change easier to evaluate. When several callers report trouble, compare their examples. A single caller may have a DTMF issue, while every caller may indicate a route or dialplan problem.
- Does the provider show the call as received?
- Does the FreePBX system answer and play the greeting?
- Can the caller hear the prompt clearly?
- Does the system recognize keypad input?
- Does the selected destination ring or reject the call?
These questions divide the problem into stages. For example, a call that never reaches the greeting points to an earlier stage than a call that reaches an extension and then fails.
Trace the inbound trunk and route first
When you find FreePBX IVR calls not working, begin with the trunk and inbound route. The trunk is the connection between the PBX and the voice provider. A trunk can appear available while a specific inbound call still fails. Check the provider call record, trunk status, and the number that the provider sends to the PBX.
Inbound routes commonly match a DID, which is the business number presented to the PBX. They may also match a caller ID or a defined time condition. When the provider sends a different number format than the route expects, FreePBX may send the call to an unexpected destination or reject it.
Verify the number and context
Compare the received DID with the inbound route. Look for country codes, area codes, prefixes, and leading digits. Do not assume the number displayed to the caller is the number used in the SIP signaling.
Next, confirm the route points to the intended IVR. A route may still point to an old announcement, extension, ring group, or time condition after a menu change. Check after-hours and holiday rules as well. A time condition can send a valid call somewhere other than the normal IVR.
If outbound calling also has trouble, review the separate route and trunk path in this trunk and outbound call guide. Inbound and outbound failures can share a provider issue, but their FreePBX routes are different.
Confirm the IVR prompt and caller input
Once the call reaches the IVR, confirm that the greeting plays and ends normally. A missing, inaccessible, or unsuitable audio file can create silence or cause the menu to time out. Check the IVR announcement, language, timeout, retry count, and invalid-entry settings.
DTMF means dual-tone multifrequency. It describes the keypad signaling that callers send when they press a number. When the caller hears the prompt but every keypress fails, investigate DTMF handling rather than changing destinations immediately.
- Test from a mobile phone and a different carrier when possible.
- Try one known menu option and wait for the prompt to finish.
- Check whether the IVR accepts input during the greeting or only afterward.
- Review timeout and invalid-entry destinations.
- Confirm that the selected digit has only one assignment.
Speech recognition, custom feature codes, and third-party modules can add another layer. Disable or bypass optional features only with a documented rollback plan. A change that fixes one caller may affect all menus.
Follow every IVR destination
An IVR option does not complete a call by itself. It transfers the call to a destination such as an extension, ring group, queue, external number, voicemail box, announcement, or another IVR. Open the destination and verify that it still exists and behaves as expected.
Check an extension first. Confirm that its device is registered and that it can receive an internal test call. Next, inspect a ring group or queue. Confirm that members exist, remain available, and the schedule has not excluded them. Finally, inspect voicemail. Check the mailbox and its unavailable or busy greeting.
When FreePBX IVR calls not working affects an external transfer, take extra care. The PBX may need a permitted outbound route, a correctly formatted number, and a provider that allows the call. A local menu transfer can therefore fail even when direct inbound calls work.
Also inspect nested destinations. An option might point to a time condition that points to a ring group that points to voicemail. Trace each link until you reach the final behavior. This prevents a misleading conclusion that the IVR itself is broken.
Check permissions, time conditions, and class of service
FreePBX can apply permissions at several points. A destination may face restrictions from a class of service, outbound route, extension setting, time condition, or custom context. The result may sound like a busy signal, congestion message, or immediate hang-up.
Review the extension or queue that receives the transfer. When the option sends callers outside the PBX, confirm that the relevant route allows that number type. Check whether the call requires a prefix, a specific trunk, or a provider-approved caller ID.
Time conditions can create confusing results because they depend on the PBX clock and configured timezone. Verify the system time, timezone, holiday calendar, and current condition. Never solve a schedule issue by permanently bypassing business-hour controls unless the owner approves that change.
Permission changes can affect emergency calling and compliance. Treat them as controlled changes. Document the original setting, make one change, test the full call path, and retain a rollback note.
Use dialplan logs to locate the stopping point
Logs provide the strongest evidence when the visible FreePBX settings look correct. Asterisk can show the channel entering a context, matching an extension, running an application, and attempting a transfer. The exact console commands depend on the system version and access method, so verify them against the installed release.
With an approved maintenance or support window, reproduce one failed call while watching the Asterisk console or relevant log files. Look for the inbound channel, DID, IVR context, selected digit, destination, and final hang-up cause. Record timestamps and avoid collecting more caller information than necessary.
The log should answer a simple question: where did execution stop? A call that never enters the expected inbound context points toward the trunk or route. Entry into the IVR without a recognized digit points toward DTMF or the caller path. A recognized digit followed by destination failure points toward that destination and its permissions.
When FreePBX IVR calls not working persists after configuration checks, compare the executed context with the expected one. Do not paste sensitive SIP credentials, caller records, or complete logs into public forums. Redact numbers and account details before sharing diagnostic material. The official Asterisk documentation can help explain dialplan, channel, and SIP concepts.
Make changes in a safe testing sequence
After locating the failing stage, make the smallest relevant change. Avoid simultaneous edits to the trunk, route, IVR, and firewall. Multiple changes make the result difficult to prove and can hide the original cause.
- Save or export the current configuration when your change process supports it.
- Write down the suspected cause and the expected result.
- Change one setting or destination.
- Test the same number, option, and call path.
- Test an unaffected menu option as a control.
- Record the result and keep a rollback plan.
Reload behavior matters. Some FreePBX changes generate new dialplan instructions only after applying the configuration. Follow the platform’s normal Apply Configuration workflow, and avoid restarting the PBX during active business calls unless the owner approves the interruption.
When the problem involves audio rather than routing, separate signaling from media. A call can reach the IVR while RTP, the real-time audio stream, fails because of NAT or firewall behavior. For background on that distinction, see this one-way audio troubleshooting guide.
When to escalate FreePBX IVR failures
Escalate when the provider trace conflicts with PBX logs, when several call paths fail, or when the required change involves custom dialplan code. Custom contexts can override normal FreePBX behavior, and an apparently simple edit may affect emergency calls, queues, or after-hours routing.
Gather the failed call examples, provider records, screenshots of relevant routes, recent change details, and redacted log excerpts. A clear evidence package helps a technician compare the expected path with the executed path.
When FreePBX IVR calls not working remains unresolved, Tech Rescue Ops LLC can help trace the call from trunk arrival through the IVR and dialplan when remote access and change authorization are available. Professional assistance is appropriate when the PBX handles critical calls, custom code is involved, or testing could interrupt service.