
Network switch port not working troubleshooting should begin with evidence, not repeated reboots or random configuration changes. A failed connection may come from a damaged cable, a disabled interface, an incorrect VLAN, or a negotiation problem.
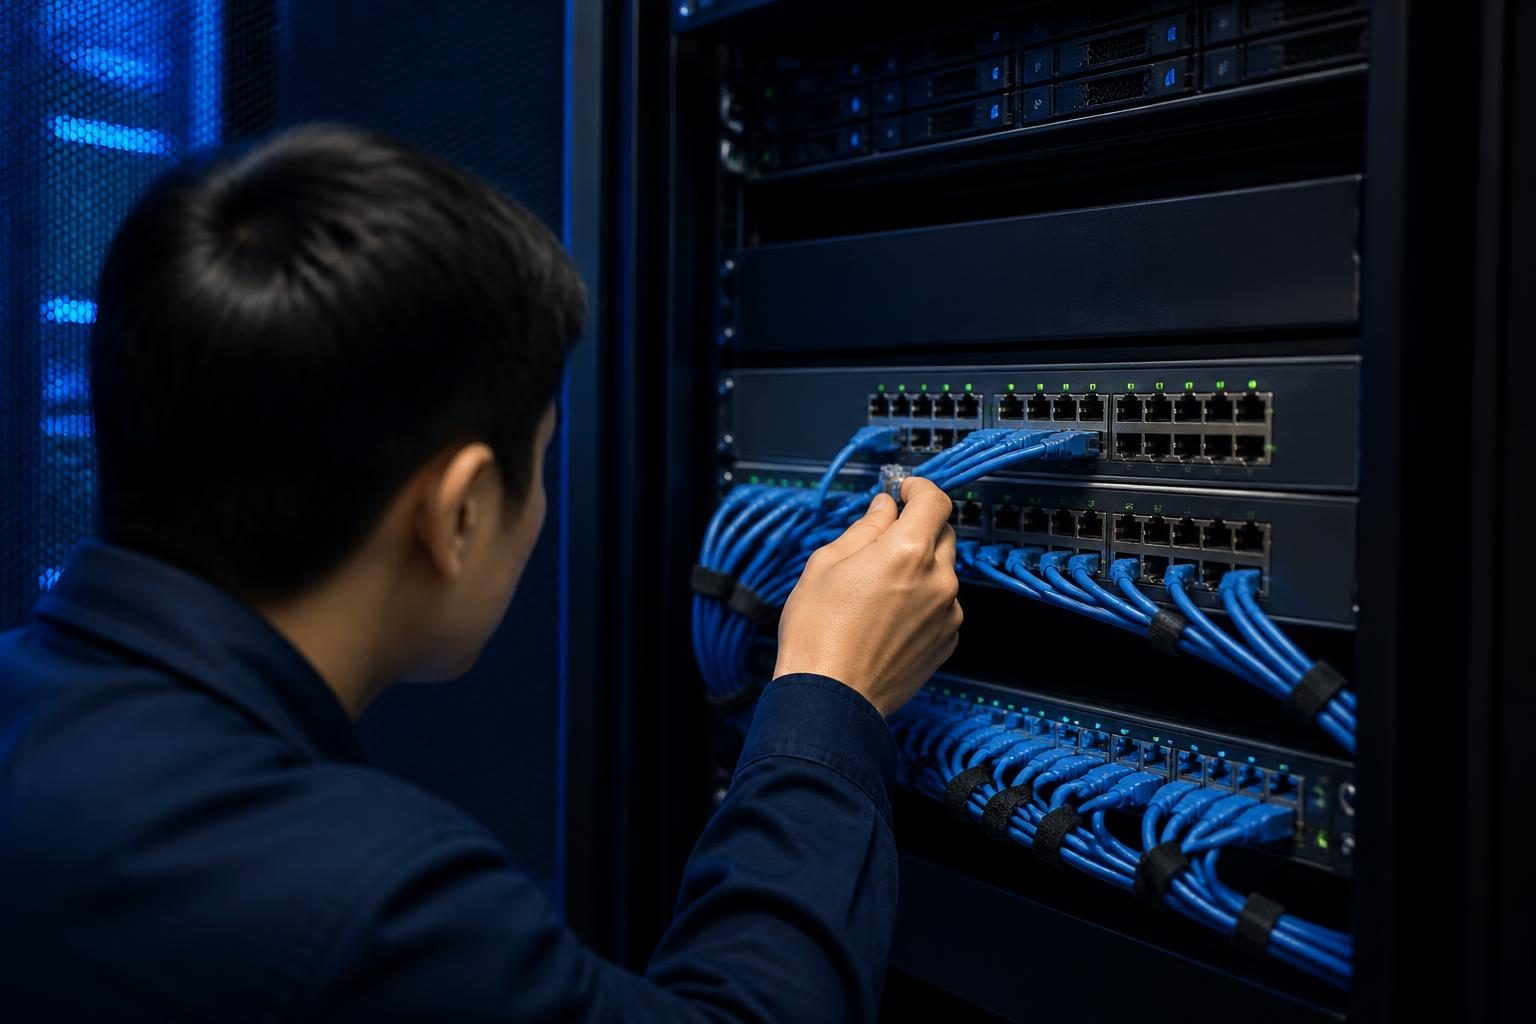
This guide follows a safe diagnostic path. It separates physical faults from configuration and policy issues. The goal is to test one layer at a time while protecting other devices on the network.
Start with a safe switch port diagnosis
First, identify the exact switch, port number, connected device, and time the problem began. Record the device name and its normal location. A photograph of the patch panel can prevent work on the wrong cable.
Next, ask whether the issue affects one device or several devices. If multiple devices lost access at once, the problem may involve an uplink, VLAN, switch stack, power source, or upstream router. Do not treat every outage as an individual port failure.
- Confirm the endpoint has power and is turned on.
- Check whether the endpoint works on a known-good port.
- Note whether the problem is constant or intermittent.
- Record recent moves, cabling changes, and switch configuration changes.
- Save the current switch configuration before editing it.
Use a structured troubleshooting method: collect observations, form one likely explanation, test it, and document the result. Google’s effective troubleshooting guidance describes this evidence-first approach in more detail.
Check link lights and cabling before changing settings
Link lights provide a quick physical clue. A dark port light often means the switch detects no electrical link. However, light behavior varies by manufacturer and configuration, so check the switch documentation before drawing a final conclusion.
Inspect both ends of the Ethernet cable. Look for a loose plug, damaged latch, sharp bends, or a cable pulled tightly against furniture. Then replace the cable with one that works on another connection. A known-good cable is a more useful test than visual inspection alone.
Compare the endpoint and switch sides
Check the network jack, patch panel, and endpoint port. If possible, connect the endpoint directly to the switch with a short, known-good cable. This bypasses the building cable and patch panel.
Move the endpoint to a confirmed working switch port. If the connection works there, the original port, cable path, or port configuration deserves attention. If it still fails, inspect the endpoint network adapter, driver, power, or local security software.
Do not repeatedly plug and unplug production equipment when it could disrupt a phone, access-control system, camera, or server. Label temporary test cables and restore the original connection after each test.
Record each cable swap and port test. This network switch port not working troubleshooting record prevents repeated tests and helps separate a bad port from a bad endpoint.
Review interface state and error counters
The switch management interface usually shows whether a port is administratively enabled and whether it has an active physical link. “Administratively down” means someone or something disabled the port. “Down” may indicate no detected link, depending on the platform.
Review these fields:
- Administrative state: enabled or disabled.
- Operational state: up or down.
- Configured speed and duplex mode.
- Negotiated speed and duplex mode.
- Input errors, CRC errors, drops, and discards.
- Recent link-up and link-down timestamps.
Rising CRC errors often point toward cabling, connectors, interference, or a physical interface problem. Drops and discards may reflect congestion, queue limits, policy, or a speed mismatch. Counters become useful when you compare them before and after a controlled test.
Clear counters only after recording their current values. Clearing them too early removes useful evidence. Some platforms also reset counters during interface changes, so document every action.
Confirm VLAN assignment and port mode
A port can show an active link while the device remains unable to reach the expected network. VLAN assignment is a common reason. A VLAN is a logical network carried through switching equipment. The endpoint must connect to the correct VLAN for its role.
Check whether the port should operate as an access port or a trunk. An access port normally carries one assigned VLAN for an endpoint. A trunk carries multiple VLANs between infrastructure devices, such as switches, routers, wireless controllers, or hypervisors.
Compare the problem port with a nearby working port serving the same type of device. Review the access VLAN, native VLAN where relevant, allowed VLAN list, voice VLAN, and any port-security settings. Do not copy a configuration blindly. A similar-looking port may serve a different device or security boundary.
A phone and computer sharing one wall connection need both the data VLAN and voice VLAN checked. Access points also require their trunk expectations to match the switch configuration. Servers need review of whether virtualization software expects tagged VLAN traffic.
If the switch uses centralized policies, the visible port configuration may not explain the final result. Authentication systems, templates, or automation can change a port after connection. Check those systems before making a permanent local edit.
At this stage, network switch port not working troubleshooting should distinguish a live Ethernet link from usable network access. A link light alone does not prove that the endpoint has the correct network membership.
Investigate negotiation, speed, and duplex
Modern Ethernet devices commonly use autonegotiation to agree on speed and duplex. Duplex describes whether both sides can send at the same time. The two ends must agree on compatible settings.
Compare the configured and operational values on both sides. A port that reports an unexpected speed may have a cable limitation, a damaged pair, an endpoint issue, or a fixed setting on one side.
A duplex mismatch can cause poor performance, collisions, retransmissions, and errors. It may appear as a slow connection rather than a completely dead port. Review error counters and compare performance with a known-good port. The safe setting depends on the switch and endpoint, so follow the vendor’s documented guidance.
Avoid forcing one side to a speed or duplex value without a clear reason. If one side uses forced settings and the other uses automatic negotiation, the resulting behavior may be unreliable. Make a planned change, record the old value, and test immediately.
For a deeper comparison of link behavior and performance symptoms, see our guide to slow network file transfer troubleshooting.
Use logs to connect symptoms with events
Switch logs can show link flaps, authentication failures, port-security violations, spanning-tree events, and configuration changes. Search around the time the endpoint failed. A single event is a clue, not proof of root cause.
Look for repeated link transitions. Frequent up-and-down events may indicate a damaged cable, unstable endpoint, failing transceiver, power issue, or loose connection. A port-security violation may explain why the interface shut down after a device or MAC address changed.
Authentication logs can identify a failed 802.1X or network-access-control exchange. Spanning-tree messages may show why a switch placed a port into a blocking or protection state. Configuration history can reveal an accidental VLAN, shutdown, or policy change.
Keep timestamps consistent. Compare switch time with endpoint, authentication, and monitoring records. If the switch clock is wrong, event correlation may lead to a false conclusion.
Test a suspected failed port carefully
After collecting evidence, perform a controlled test during an approved maintenance window when the device is important. Start with the least disruptive test: replace the cable, verify the endpoint, and compare the port with a known-good configuration.
- Confirm the endpoint and cable identity.
- Check the port’s current state and counters.
- Test the endpoint on a known-good port.
- Test the suspected port with a known-good endpoint, if practical.
- Compare VLAN and negotiation settings with the correct reference port.
- Review logs after each test.
- Restore the intended configuration and verify the connection.
A known-good endpoint that also fails on the suspected port makes hardware or port configuration more likely. Several failed ports in the same area call for inspection of the switch, uplink, power, and patching infrastructure. One endpoint that fails everywhere points attention toward that endpoint.
That sequence keeps network switch port not working troubleshooting focused on controlled comparisons rather than guesswork.
Some switches support diagnostic tools, loopback tests, or cable tests. These features differ by model and may briefly interrupt service. Read the platform documentation before running them.
Know when to replace or isolate the port
Consider a hardware fault when a port fails with multiple known-good cables and endpoints, while neighboring ports work correctly. Persistent physical errors, abnormal temperature, damaged connectors, or repeated link flaps strengthen that conclusion.
Move the device to a spare port only after checking VLAN, security, power, and monitoring requirements. Update the port map and labeling. Do not leave a temporary workaround undocumented.
If the switch itself is unstable, preserve logs and configuration before restarting or replacing it. A reboot may restore service but can erase transient evidence. Also confirm that redundant links, spanning tree, and connected services can tolerate the action.
Document the result and prevent repeat failures
Record the original symptoms, port number, endpoint, cable path, link state, VLAN, negotiated speed, counters, log events, tests, and final action. Include the old and new configuration values.
Update network diagrams and port maps after any permanent change. Keep spare cables labeled and test them before storing them. Standardize port descriptions so technicians can identify locations and device roles quickly.
For recurring link problems, compare event times with endpoint logs and monitoring data. A pattern may reveal a failing cable path, unstable device, or environmental issue. Our guide to intermittent network connection troubleshooting covers broader testing when the port does not fail continuously.
A switch port problem is often diagnosable without guessing. Start at the physical layer, verify interface state, confirm VLAN and negotiation settings, then use counters and logs to test the remaining hypotheses. If production services, security policies, or unfamiliar switch hardware are involved, Tech Rescue Ops LLC can provide remote technical support while keeping changes documented and controlled.